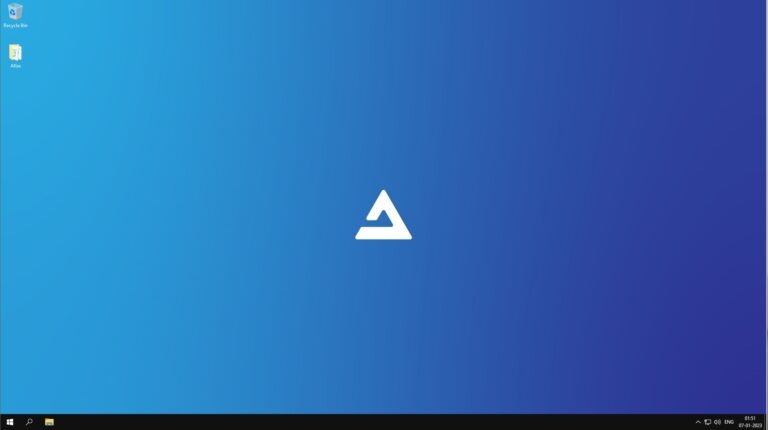
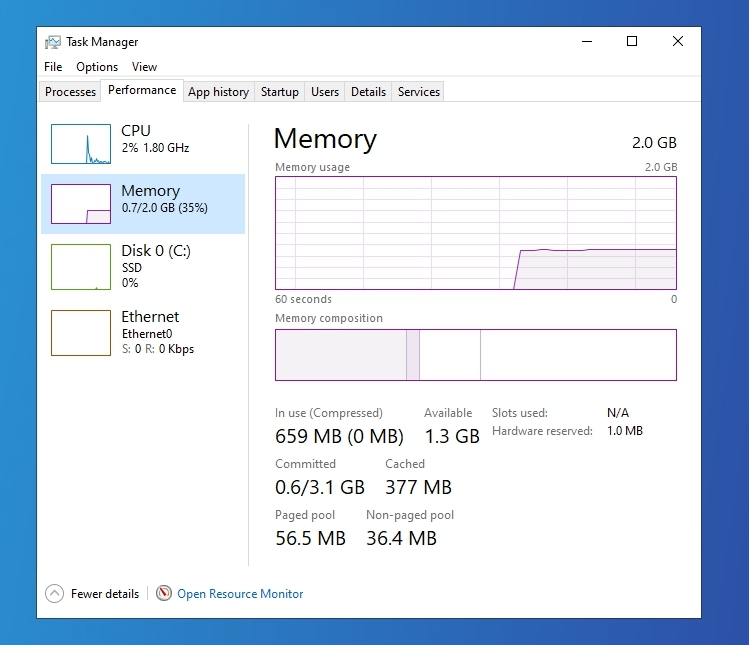
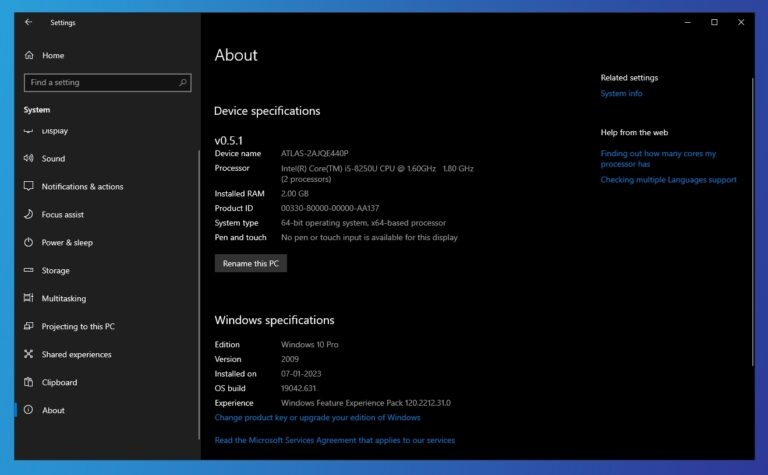
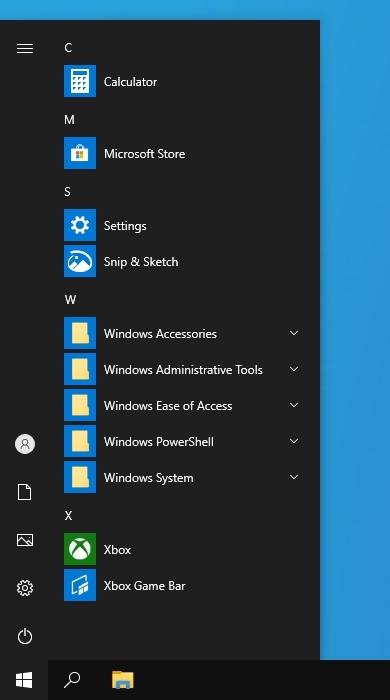
Today, we are here with Atlas OS, an open and transparent Windows operating system designed to optimize performance and latency. Previously, we covered the Superlite version of Ghost Spectre Windows 10 and Windows 11; you can check those as well. They are meant for all users looking for a good & optimized OS for an all-in-one experience, whether an old PC or a new one.
Atlas OS
“An open and transparent Windows operating system, designed to optimize performance and latency.“ The Atlas OS is tailored for gamers, offering higher framerates and lower latency for a more seamless gaming experience. It is a modified version of Windows that eliminates any factors that could negatively impact gaming performance. As an open-source project, Altas’s goal is to provide equal gaming opportunities for players regardless of their system’s capabilities. In addition to optimizing performance, Atlas is also effective in reducing system and network latency and input lag. It is also designed to protect the user’s privacy.
What is removed in Atlas OS?
TPM (Trusted Platform Module) Windows Defender Storage Spaces eMMC Drives RAID Disk Configurations BitLocker Biometrics (Face Recognition/Fingerprint) Voice Recognition Restore Points & System Reset
Unsupported Software/Features
Alternate Languages, due to a Windows Bug. With luck, you may be able to install a different language. WSLv2 – Requires Hyper-V, v1 is supported Modern Flyouts Projecting Oculus Software (Check Here)
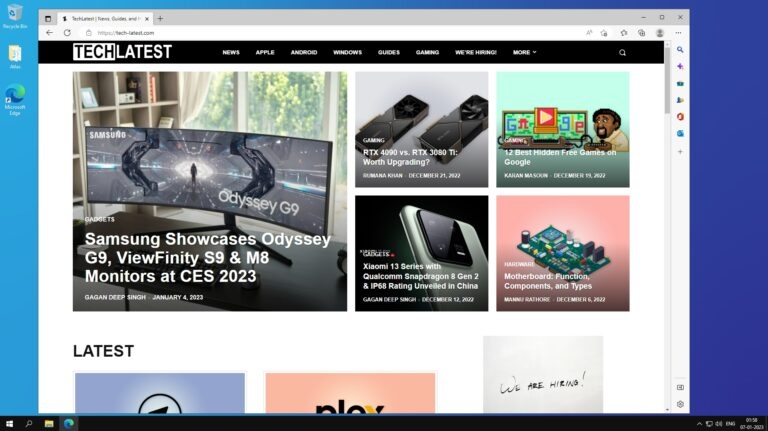
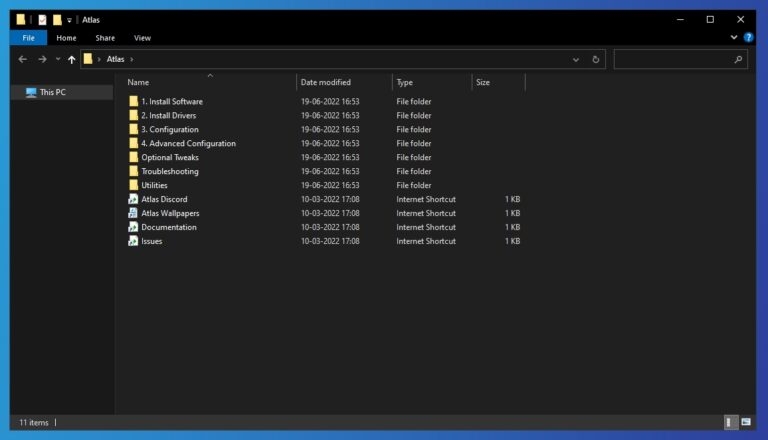
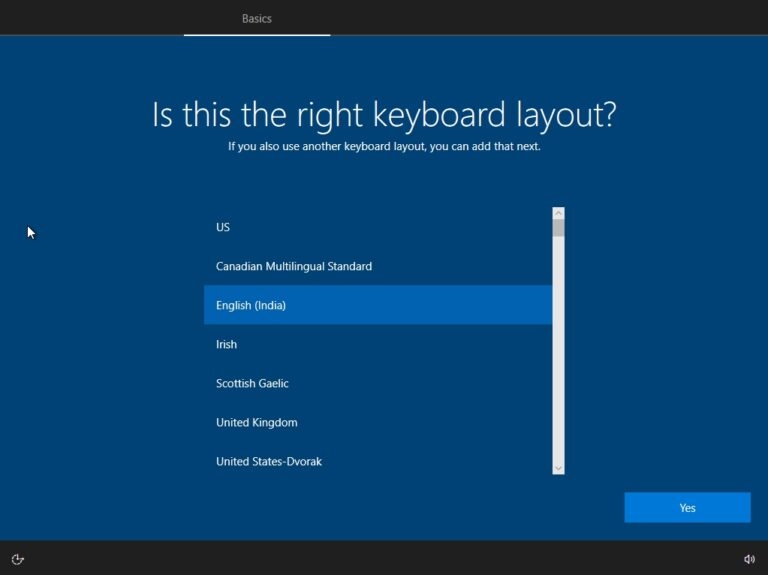
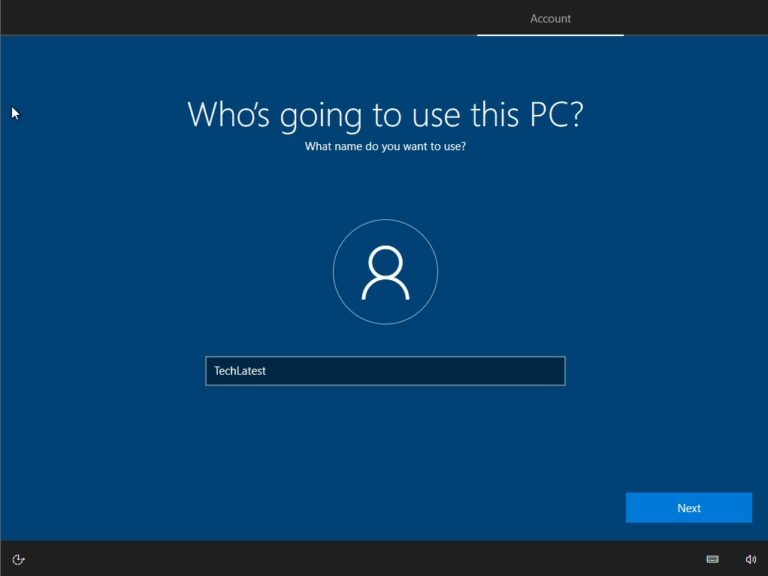
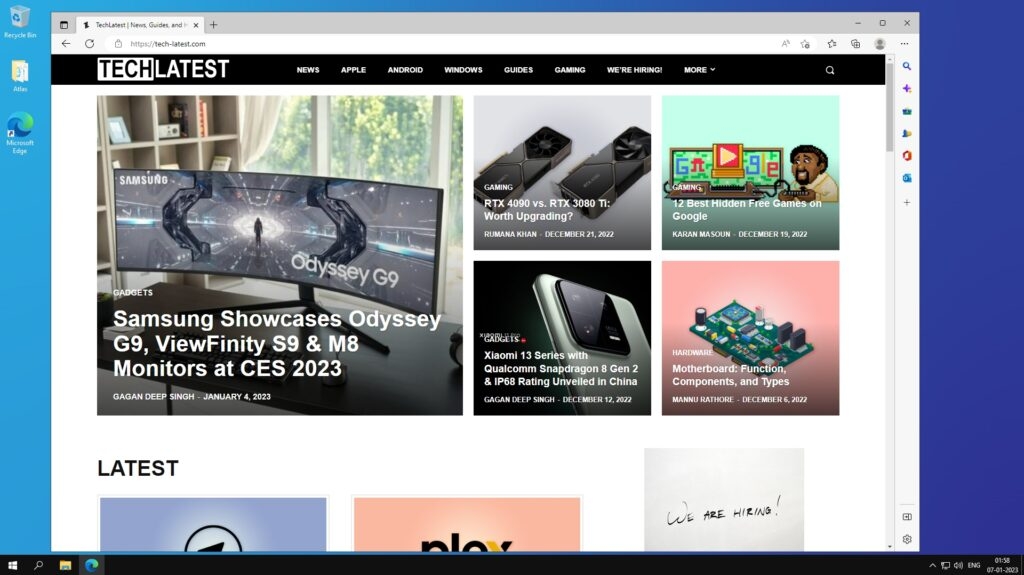
Screenshots:
Tap on the image for full view.
Download Atlas OS ISO
21H2
Changelog Atlas OS’ website and socials;
v0.1 BETA Initial release
20H2 (Most Popular)
Changelog
v0.5.2 BETA Fixed Game Bar registry file Fixed Start Menu breaking when enabled Fixed Scoop only installing a single app when selecting multiple Fixed several typos Fixed Ventoy boot on legacy systems Fixed Netflix App Improved Bluetooth Headset support Scripts are now much “smarter” and run other scripts if required for a feature. Removed Placebo/Irrelevant Tweaks Mouse Curve reg is no longer included (When EPP is off, no need for it) M+KB Data Queue sizes are now windows default, the script still included Removed Distribute Timers tweak (Windows 7 only) and more… Remove several unused dependencies. Added Safe Mode scripts Added Diagnostics/Troubleshooting scripts Added Network Sharing scripts Added NVIDIA Container scripts Added Revert scripts for event log, task scheduler, and NVIDIA pstate Updated NSudo Updated VCRedists Updated NVCleanstall Changed the desktop name to be unique (e.g., Atlas-Q6MTG) Restored Remote Desktop Client
v0.5.1 BETA Fixed CrashReporterClient error Fixed VMWare detection (fixes internet) Fixed New XBOX app Fixed Forza Horizon 4 & 5 Fixed Various Store Issues Improved Valorant Compatibility Lowered Post-Install script time Removed Aria2 dependency New Scripts: Static IP, DSCP, Display Scaling, Disable (IE, WMP, Eventlog, Task Scheduler), Scoop Installer, GPU Affinity, NVIDIA Force P0, and Display Scaling Revised Tweaks Added MarkC MouseFix to Optional Tweaks Updated NVCleanstall Updated Faceit Edition to November Cumulative Update
1803
Changelog
v0.2 BETA Initial release
Install Atlas OS
There isn’t anything new while installing Atlas OS based on Windows 10 on your PC. You are good to go if you are familiar with the normal clean installation steps. Nevertheless, follow the below steps if you have any doubts about doing it:
Download Rufus to create the bootable media. Open Rufus and create the bootable media by using the previously downloaded ISO File and a USB Drive.
Restart your PC, and while booting, before the Windows logo, tap the Boot Menu key to open it.
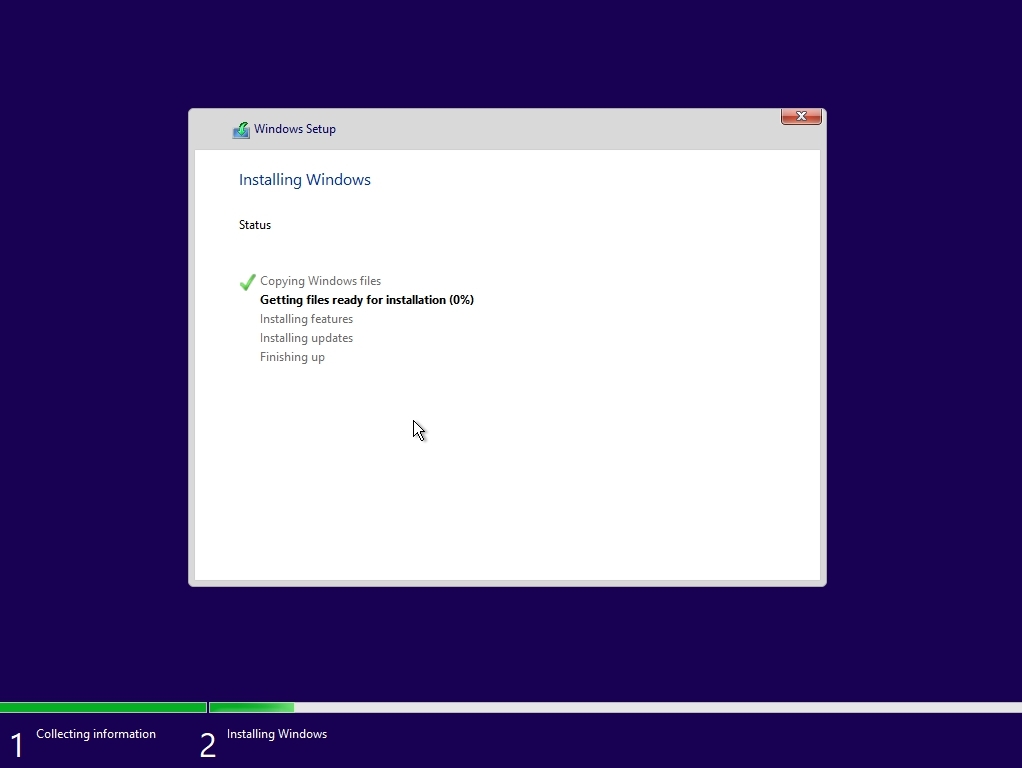
You see a screen with a list of drives, choose the one you inserted/plugged in, and hit Enter. Then the Windows logo will appear on the screen for a while; if you see the animated dots, it means everything is fine. After this, you will be welcomed on the Windows Setup window. Click on the Install button to proceed. Now, you are on the TnC page. Just read the official Windows 10 agreement and give your input by clicking on the check button and then clicking on the Next button. Then, you will have to select the drive where you want to install the operating system. And then finally, click on the Next button to start the installation process. The OS will be installed successfully in a couple of minutes ( depending on memory and disk type).
Final Words – Atlas OS (Based on Windows 10)
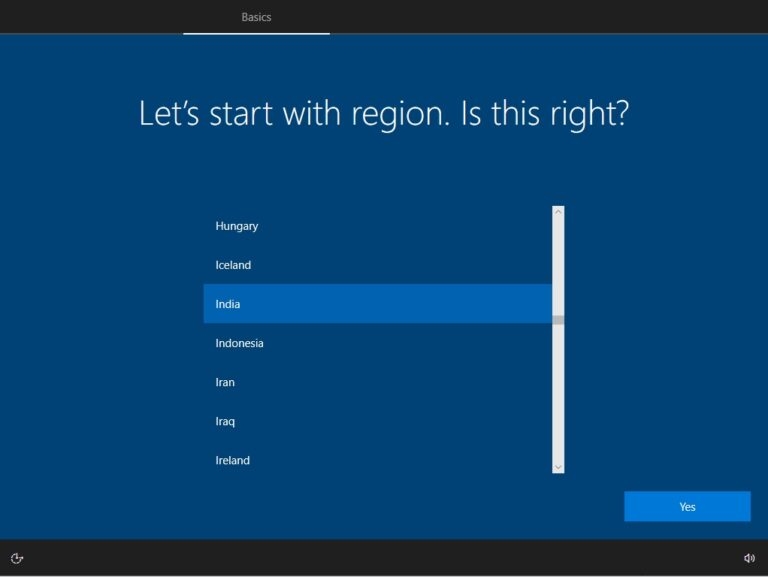
That was it; we have gathered everything about the Atlas OS based on Windows 10, download it, and enjoy a perfect Windows 10 on your low-end PCs as well for the best gaming experience. Tap on the image for full view. So, basically, Atlas OS managed to trim the startup steps into only four stages. And the main, you don’t have to login into your Microsoft account at the startup. If I missed anything, please let us know in the comment section, and we will add it ASAP.

